Come July, we’ll have been at our current address for two years. And while it’s no secret to friends and family I’m not crazy about where we live, geographically speaking, I love our home. We’ve worked really hard on making what was once a bland, devoid-of-character residence into a cozy, warm space. Before I go into detail bragging about my latest project, I’ll highlight where we began.
The first thing to go when we moved in were the popcorn ceilings. MainMan and I are now experts in this mess of a project. Count on a lot of plastic sheets, white goop and powder, and painter’s tape from Home Depot. Following the popcorn ceilings, almost every room, minus closet spaces and bathrooms (until this month) got new paint jobs. I think the only room that had color was the kitchen. There is nothing more boring than a house with all off-white walls. We went with a soft palette of pastels from Benjamin Moore for the downstairs: Ylang-Ylang for the kitchen, jute for the living room that flows out of the kitchen, light salmon for my office and Van Allen green for the dining room.
Second to go was the carpet in the living room. The same carpet climbs our staircase and lives on the second floor, where I don’t mind it as much. We found some dark bamboo wood at Lumber Liquidators and MainMan wowed me with his handiness. The room got new base molding, as well.
Lastly, we overhauled the kitchen. There was nothing terribly wrong with the kitchen, but nothing was really great either. The cabinets were in OK shape, minus some white plastic covering that was peeling away, but they were way too short for our 9-foot ceilings. A couple of feet of much-needed storage space was going to waste and the appliances were all super grungy. We found some beautiful tall cabinets at Home Depot for a reasonable price and committed to doing the work ourselves (read MainMan did the heavy lifting while I held a screw and level in place here and there). Demo and install took a couple of months, at least, and after that, MainMan and I were burned out on house projects. So much so, we barely did home improvements for a good 6-8 months thereafter.
Our kitchen has a peninsula. There isn’t quite enough space for an island, so the builders granted us this, at least. It juts out from the wall and is home to our sink and a two-tiered countertop which makes for a nifty bar spot where guests can sit and peer over you as you do food prep or clean dishes. Originally, I’d painted under the granite countertop with the Ylang-Ylang color, but then realized that was boring and I wanted the peninsula to have a unique feel/something to make it pop. I like the idea of wainscoting, but I wanted something more me, less cookie cutter (and more DIY, less expensive than custom molding). I recently became hung up on the idea of horizontal planks in our bathrooms and thought that could be a fun look for our kitchen, as well. My choice was confirmed when I found the perfect motivating image after Googling “kitchen peninsula” and “horizontal planking.”
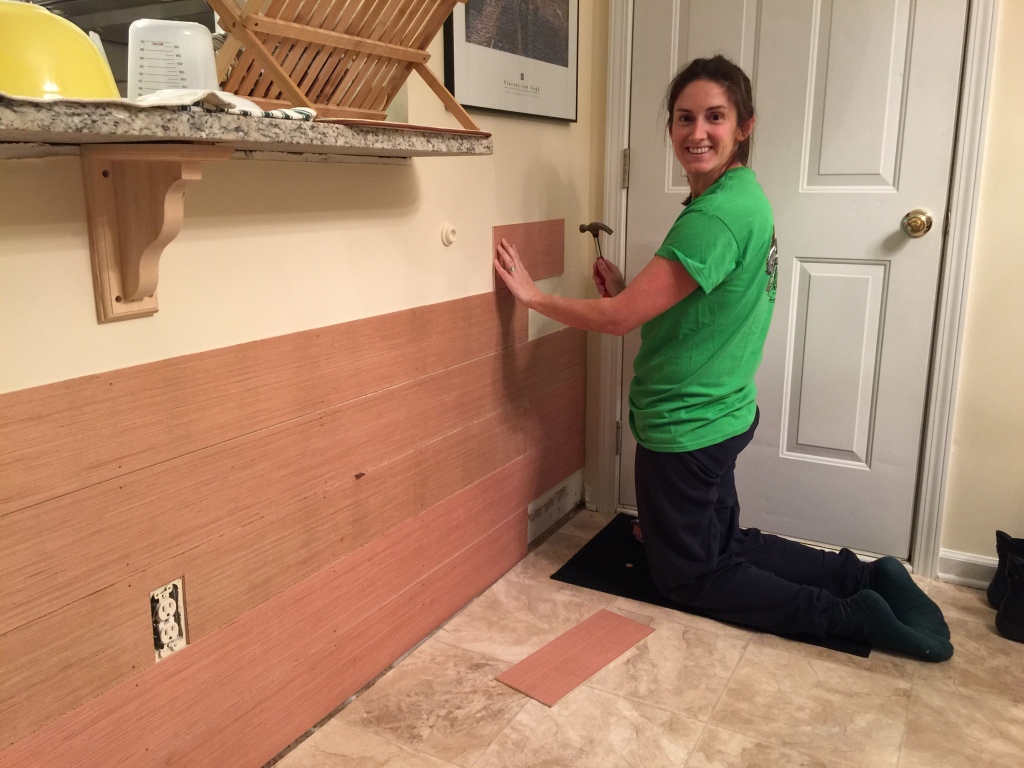
Instead of spending money on pine planks, we fudged it a little bit. I bought a couple of MDF plywood boards and had the nice man at Lowe’s cut them for me in 6-inch slats. These slats would end up being our planks. I can’t tell you how happy I am with the end result. The only headache is the edges are a little rough. If you’re interested in bringing some faux-planking to your abode, make sure you sand the edges of the slats really well. Otherwise the paint job will look messy. MainMan taught me how to use the miter saw and we went to town. Note that the best way to do this is from the bottom up.
Before:
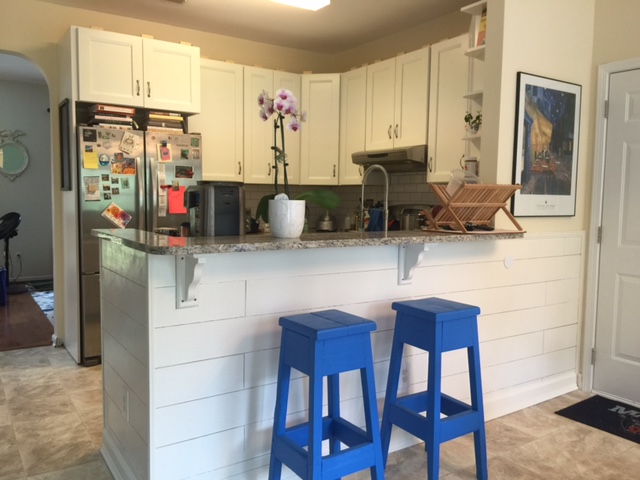
After:
My mom and I bought these stools at one of my favorite antique stores in the world, the Antique Mall of Monterey. They were originally a pale turquoise color and screamed rustic chic with half the paint chipped off. I was in the mood for a wild blue to contrast with the all-white kitchen and fell in love with this bright bay blue from Glidden (purchased at Lowe’s).
Measuring and cutting the planks is really the most difficult part of this project. Also making sure the planks stay level from bottom to top and from left to right. I recommend staying consistent and alternating the same cuts every other row. It looks a lot cleaner this way than it would if you randomly cut as you go. I also suggest using pennies or something thin to space out the planks. If you’re like me, you’ll want to see the lines in between the planks. If the wall behind your planks is any color other than what you’re going to paint the planks, paint the wall before applying the planks. I left the ylang ylang and there is one spot where you can kind of still make out that pale yellow under the white. Also, invest in a good stud-finder.
Home Depot sells corner finishing pieces in their molding department, for both the outside and inside corners, which we’ve since added and they really make it look finished. We’re still working on the floor, as you can see, but we’ll get there.
Now for the makeover of our teeny, tiny half-bathroom downstairs off our living room.
The Blah Before:
I’ll leave you in a little bit of suspense before I share the after photo with you. It’s truly a show-stopper, if I don’t say so myself.
The first thing we did was cut out the base molding and remove any low-hanging items like the toilet paper holder and the light switch plates. Some people would probably have taken out the toilet bowl and the sink, but we’re not that hardcore and I decided I could make the planks work while measuring them to just touch the very few pipes we have extending from the wall. I really think you can do it either way. I still can’t believe it, but I had just the perfect amount of MDF left over from the kitchen to finish the job here. I kept thinking what a pain it was going to be to return to Lowe’s and get another piece cut into 6-inch slats, but nope! Lucky me.
I wasn’t sure how high the planks should go so I looked it up. The site I found recommended doing wainscoting to about 1/3 of the height of your walls. That made it easy. My walls are 9-feet tall so the planks would go to 3-feet in height.
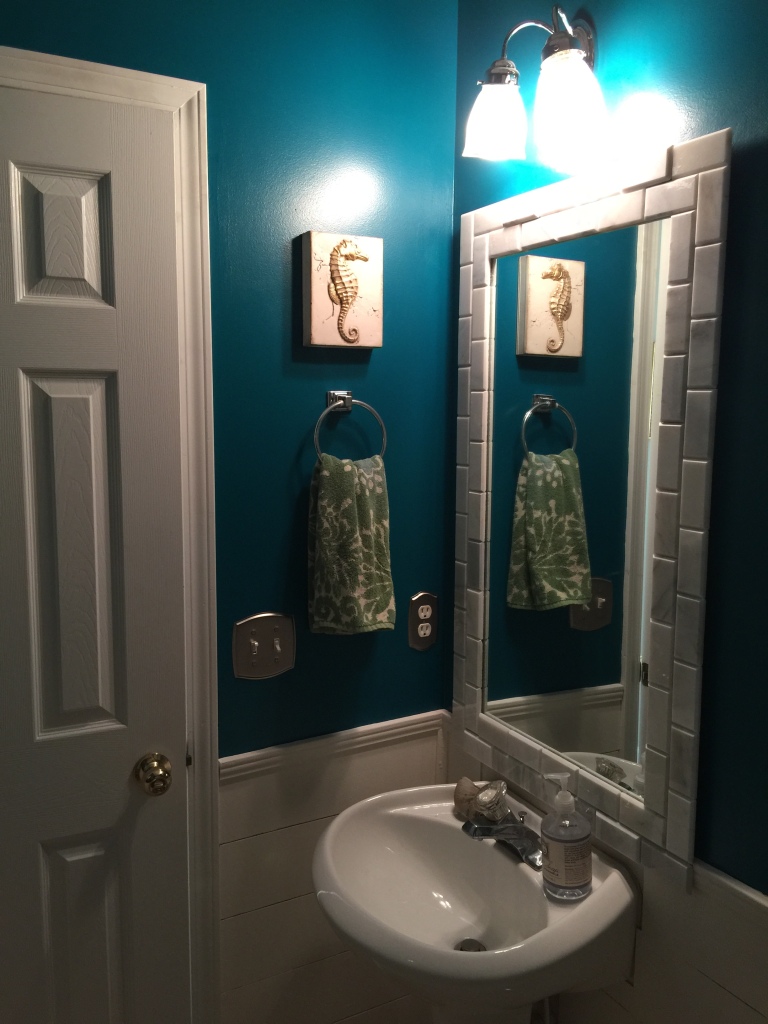
As I did with the kitchen, I used a stud-finder to figure out where to nail in the planks. And go with 1.5-2” small finishing nails. You don’t want huge visible nail holes. Once I finished with the planking, it was time for the piece de resistance: redoing our mirror. I wasn’t going to overhaul this beautiful bathroom and leave the builder-grade mirror untouched. So I found a good instructional post on how to tile a mirror. I bought some small subway tiles at Home Depot, grout and adhesive mix, and framed the mirror with the subway tiles (one at a time vertically, outside layer first). Now the mirror is up to snuff with the swanky new bathroom.
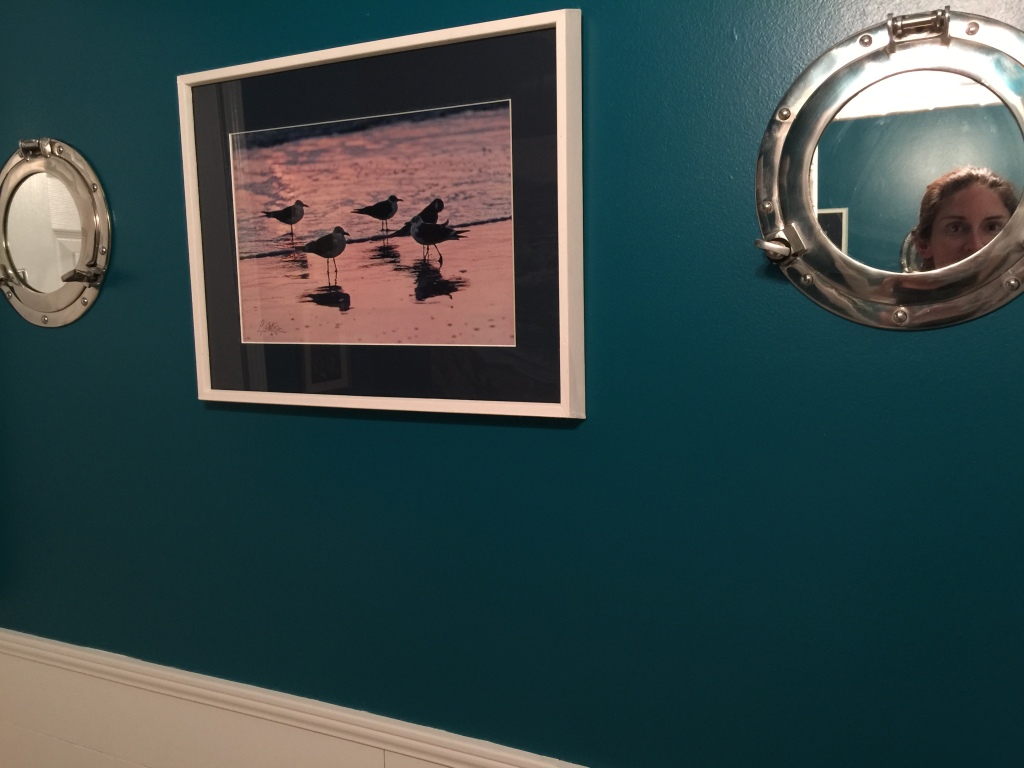
After the mirror I painted the walls. The planks got the white color from the kitchen and the walls got Caribbean current by Behr (from Home Depot). I really wanted a dark teal color for this bathroom, but one that would pair well with the jute walls outside in the living room. After one coat I was a little worried it appeared too Kelly green, but after two coats it deepened a bit into this lovely deep ocean blue hue.
After:
Our next (indoor) project is to finish the nursery. We’ve started an under-the-sea theme, and just have to paint a couple more coats. I also want to paint the guest bath upstairs.
What projects are you working on? Any room in your house that must go/be overhauled? Would love to hear about it.


Currently working on my front entrance. The walls are damaged from years of kids running in from the outdoors and my constant moving of furniture up and down the stairs. It was also a orange/brown colour I’ve grown very tired of. It doesn’t get a lot of light so I’m going with a light grey colour. Thinking of painting my white door with a pop of colour. Also redoing my floor. Thinking of trying a vinyl tile system.
LikeLike
Ooooh send pix! The jute we have in living room is light grey – it’s lovely – you should check it out. And yes, front doors def need a good pop of color. Ours is red. Have you been on Houzz? Or you can just google fun front door colors. I was torn between yellow and red, but happy with how our red turned out. Funny story, my father in law told me a story that back in the old days in New England people painted their front doors red when they paid off their mortgages. HA! I was like well we definitely jumped the gun on that!!!!
LikeLike
[…] parents. By running around South Carolina buying and painting, planting and eating, reading and decorating as much as I could […]
LikeLike